2015/01/30(Fri)
AndroidのViewで独自フォントを使用する
TextViewに表示する文字に、独自のフォントを適用させてみます。
環境: Minimum SDK: API 15: Android 4.0.3(IceCreamSandwich)
まず、使用するフォントを用意する。今回は、Google Fontsからダウンロードしてきた「ReenieBeanie.ttf」を使用します。
次に、Androidプロジェクトのフォルダ内に、上記のフォントファイルを設置します。
プロジェクト名/app/src/main/以下にassetsフォルダを新たに作成し、その中にフォントファイルを設置します。
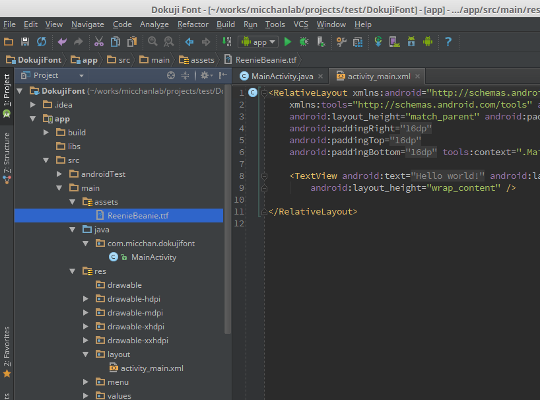
次に、レイアウトファイル内に、独自フォントを適用したいTextViewを追加する。
ここでは、res/layout/activity_main.xmlに追加します。
<RelativeLayout xmlns:android="http://schemas.android.com/apk/res/android"
    xmlns:tools="http://schemas.android.com/tools"
    android:layout_width="match_parent"
    android:layout_height="match_parent"
    tools:context=".MainActivity">

    <!-- 以下を追加する -->
    <TextView
        android:id="@+id/custom_font_text"
        android:layout_width="wrap_content"
        android:layout_height="wrap_content"
        android:text="@string/hello_world"
        android:textSize="48sp"
        />

</RelativeLayout>
そして、フォントを適用させるプログラムを書きます。
今回は、MainActivity.javaです。
public class MainActivity extends ActionBarActivity {

    @Override
    protected void onCreate(Bundle savedInstanceState) {
        super.onCreate(savedInstanceState);
        setContentView(R.layout.activity_main);

        /* 以下を追加する */
        TextView txt = (TextView) findViewById(R.id.custom_font_text);
        Typeface font = Typeface.createFromAsset(getAssets(), "ReenieBeanie.ttf");
        txt.setTypeface(font);
    }
}
これを実行すると、以下のようになります。
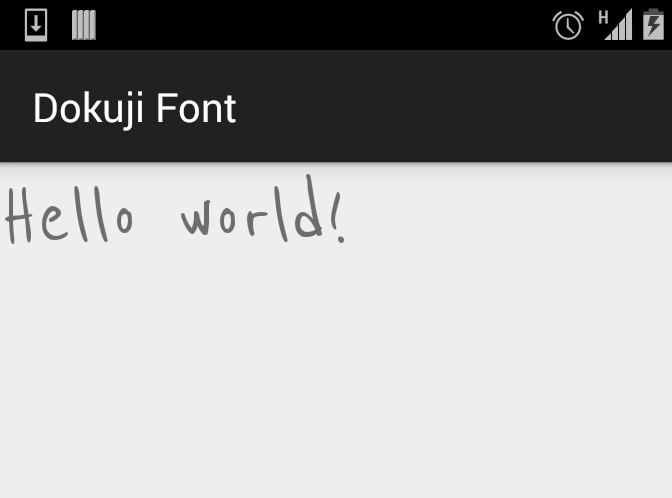
これで以上です。
参考サイト:
- Quick Tip: Customize Android Fonts - Tuts+ Code Tutorial (code.tutsplus.com)
 (mi|o)cchan
 30 Jan 2015
 android
 font custom